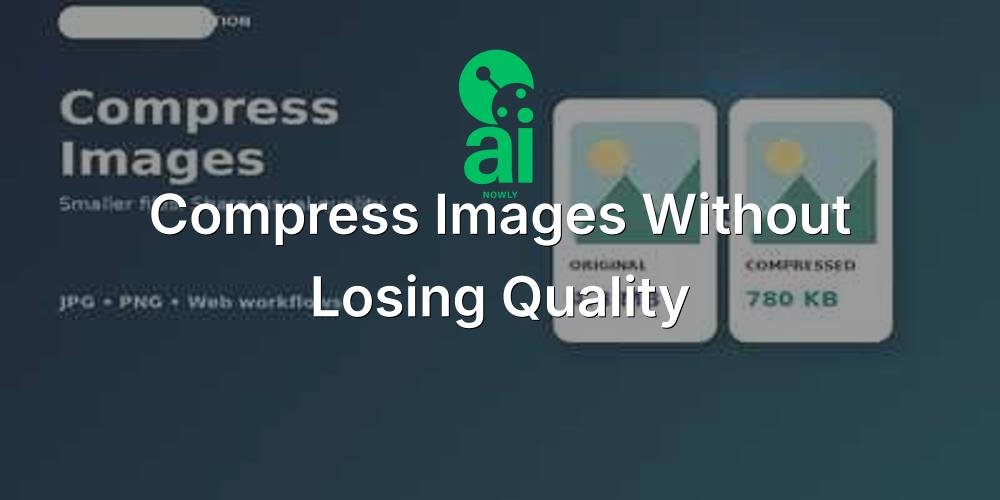
Large images slow down websites, clog inboxes, and trigger upload-limit errors. The problem is that people do not just want a smaller file—they want to compress images without losing quality in a way that still looks sharp on screen.
That phrase needs one clarification: some image compression is technically lossy, which means data is removed. But in practical use, you can often reduce file size dramatically while keeping the difference visually hard to notice. The goal is not “zero mathematical change”; the goal is the smallest file that still looks right for its job.
AiNowly's free Image Compressor gives you a simple browser workflow for JPG and PNG files, with a quality control so you can decide how aggressively to reduce the file.
Quick answer: the best way to compress an image without visible quality loss
- Open the AiNowly Image Compressor.
- Select the original JPG or PNG rather than a screenshot or already-recompressed copy.
- Start around a balanced quality setting.
- Download the result and compare it with the original at normal viewing size.
- If it still looks identical for your use case, try a slightly lower quality level for a smaller file.
This “compress, compare, adjust” approach is more reliable than chasing a random percentage suggested by someone else, because photographs, screenshots, graphics, and scanned documents compress differently.
Compression vs resizing: they are not the same thing
Many people search for “reduce image size” and mean two different things.
Compression reduces the number of bytes used to store the image. Resizing changes the pixel dimensions, such as reducing a 4000×3000 photo to 1600×1200.
If a website needs a smaller file but still accepts your current dimensions, compression may be enough. If the image is far larger than it will ever be displayed, resizing first can produce an even bigger saving. AiNowly's Image Resizer is useful for that second step.
What quality setting should you use?
There is no universal perfect number. A good setting depends on the image and the destination.
- Website hero photos: prioritize a balance between visual detail and loading speed.
- Email attachments: smaller files usually matter more than pixel-perfect texture.
- Product photos: preserve edges, labels, and fine surface detail.
- Screenshots with text: be more conservative, because compression artifacts around letters are easy to notice.
- Archive or print masters: keep the original and create a separate compressed copy rather than replacing it.
The safest habit is to keep the original file untouched and export a lighter version for the web, email, social media, or forms.
Why image files become so large
Modern phone cameras produce high-resolution images because that gives you room to crop, edit, and print. The downside is that a photo meant to be viewed at 1200 pixels wide may begin life several times larger.
File size is influenced by:
- Pixel dimensions.
- Image format.
- Compression quality.
- Color complexity and detail.
- Metadata.
- Whether the image has already been compressed before.
A detailed photo of leaves, hair, grass, or city lights generally needs more data than a simple graphic with large flat areas.
JPG, PNG, and WebP: which format is best?
JPG
JPG is a strong choice for photographs because it can reduce file size significantly while keeping photos visually convincing. It does not support transparency.
PNG
PNG is useful for graphics, logos, screenshots, and images that need transparency. It can be much larger than JPG for photographic content.
WebP
WebP is widely used on the web because it can provide strong compression while maintaining good visual quality. If compatibility with a specific workflow is more important, you can convert formats using AiNowly's WebP Converter.
How to compress images for a website
For website use, file size affects more than storage. Heavy images can delay page rendering, especially on mobile connections. A practical workflow is:
- Crop away areas you do not need.
- Resize the image close to the largest size it will actually display.
- Compress the resized version.
- Use the most suitable format for the content.
- Keep descriptive filenames and alt text when publishing.
This avoids the common mistake of uploading a multi-megabyte camera original and relying on the browser to visually shrink it.
How to compress images for email
Email is one of the easiest places to overpay in file size. A photograph taken on a modern phone may be far larger than necessary for someone who will only view it inside a message.
If the recipient does not need a print-quality master, resize the image and then compress it. For multiple images, consider whether a PDF or shared folder is more convenient than sending many large attachments.
How to compress product photos without making them look cheap
For ecommerce, quality loss becomes obvious around text labels, jewelry edges, hair, textured fabric, and glossy surfaces. Start with a clean source image, remove unnecessary background clutter, then compress gradually.
If you need a transparent cutout first, use AiNowly's Background Remover. Compress only after you are happy with the cutout, so you are not repeatedly degrading the same file through multiple exports.
Common mistakes that ruin image quality
Compressing the same JPG again and again
Repeated lossy exports can build visible artifacts. Always go back to the best source file when possible.
Using a screenshot instead of the original
A screenshot can introduce scaling and extra compression before you even begin.
Reducing quality too aggressively
The smallest possible file is not always the best file. Stop when the image is light enough for the job, not when every last kilobyte has been removed.
Ignoring dimensions
A 5000-pixel-wide photo does not need to remain 5000 pixels wide if it will only appear as an 800-pixel card on a website.
Converting everything to the same format
Photos, logos, screenshots, and transparent graphics have different needs. Format choice matters.
Is “without losing quality” really possible?
With lossless compression, yes: the decoded image can remain pixel-for-pixel equivalent while the file is stored more efficiently. With lossy compression such as typical JPEG workflows, some information is removed.
However, that does not mean the image must look worse. The useful target for most people is no visible quality loss at the intended viewing size. That is why previewing and comparing matters more than obsessing over a single compression percentage.
A practical AiNowly workflow
For a typical web image, use this sequence:
- Use Image Cropper if the frame contains unnecessary space.
- Use Image Resizer if the dimensions are much larger than needed.
- Use Image Compressor to reduce the final file size.
- If you need a different format, use the WebP Converter, PNG to JPG, or JPG to PNG tool.
This sequence avoids unnecessary rework and gives you control over both dimensions and byte size.
FAQ
Can I compress images online for free?
Yes. AiNowly provides a free browser-based image compressor for JPG and PNG images.
Will compression make my image blurry?
It can if you compress too aggressively. Moderate settings often reduce file size substantially while keeping the image visually sharp at normal viewing size.
Should I resize before compressing?
If the image dimensions are much larger than needed, usually yes. Resizing first removes pixels you were never going to display, which can make compression more efficient.
What is the best format for a photo?
JPG is widely compatible and efficient for photos. WebP is often attractive for web use. PNG is usually better when transparency or crisp graphical edges matter more than the smallest file.
Bottom line
To compress images without losing quality in a practical sense, start with the original, resize only when necessary, use moderate compression, and judge the result at the size people will actually see. The AiNowly Image Compressor gives you a fast place to test that balance without turning a simple task into a full editing project.